Material & Finishes
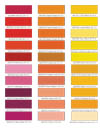
Major Markers finishes all of our products using the highest quality materials, equipment and processes in the industry. Unlike other companies, we do not keep our finishing techniques and materials a secret from the customer. We want our customers to know how products are being finished so they are comfortable in knowing they will receive the highest quality coatings available in the industry. Over the years we have perfected our process with help from Matthews Paint Company and PPG. Our signs and markers have undergone rigorous testing in scratch, solvent and salt spray testing facilities. We are confident you will not find a better coating system that allows for such a diverse selection of colors (Pantone Matching System) available in the sign and marker industry. Major Markers does it right, without cutting corners or using inferior coatings.
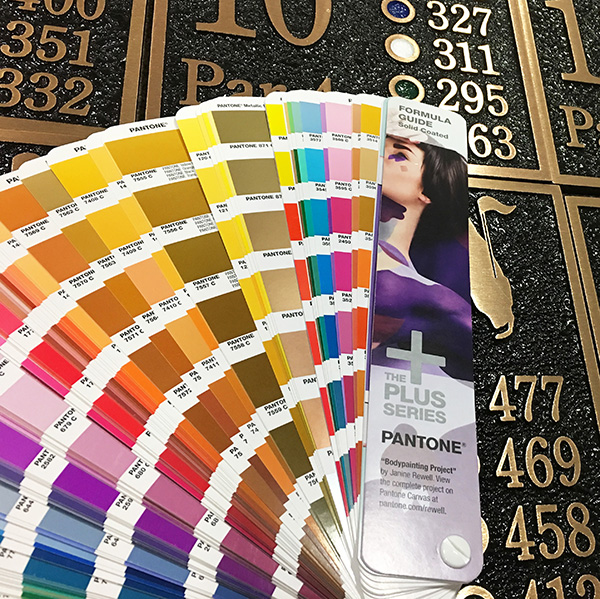
If you have any questions or would like to request a printed color selector chart please feel free to contact us anytime.
The below finishing process steps apply to wet coat finishes only. All our posts, finials, bases, and other mounting accessories are coated with high grade powder coat finishes.
Step 1: After production is complete all signs are cleaned with a combination of sand blasting media and solvents to ensure a clean surface that is ready to accept primer and paint.
Step 2: Using HVLP spray equipment, a heavy coat of automotive grade epoxy primer is applied to the surface of your sign or marker. Additional sanding and primer coats are applied as needed.
Step 3: Using a 3-part Urethane enamel (Matthews Paint System), signs are coated with the appropriate color. Multiple coats may be required depending in the sign type and application.
Step 4: Once the sign or marker is coated it is force dried/baked in industrial ovens at 200 degrees Fahrenheit for 30 minutes to fully cure the paint.
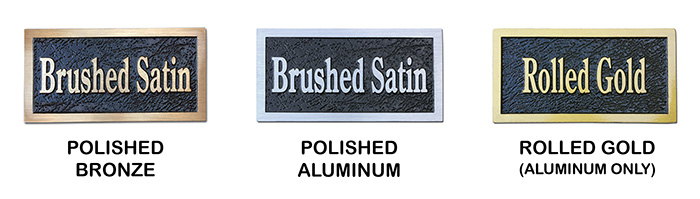
Step 5: Dimensional Signs and plaques are satin polished on the raised portions to expose the natural metal surface. Signs requiring a painted raised surface/characters are hand painted with a 2-part lettering enamel.
Step 6: Signs are then cleaned with compressed air and tack cloths to remove any dust or debris from the polishing process. Any product with a satin polished or exposed metal surface is coated with a Spray Bond Adhesive to promote adhesion of clear coat to the bare metal surface.
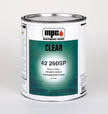
Step 7: Signs are coated with a 3-part urethane clear coat and baked again for 30-40 minutes in our industrial ovens. Bronze/Copper alloys get a special formula clear coat (Braco Clear) that helps prevent tarnishing (see below).
Step 8: Once completely cooled, each sign is checked for minor touch-ups, verified for the correct mounting setup, and packaged with the appropriate hardware for shipment.